Sunday 30 September 2012

Go big or go home

For holy celibate priest types, Jedi do have excessively huge hoods:

Really Obi-wan, you could have clothed a small alien in the fabric it is going to take to make this hood.
I'm pretty sure it will make a robe for Yoda.
I should know, I made a similar hood in my second year of Fashion design for a  Lord of the Rings Ringwraith inspired cloak. Which I don't have a picture of right near me, so you get a regular Ringwraith.
Wait..wait...is it just me or does the Witch  King look like he is trying to force choke a Hobbit here?

The pattern looked like this, and that is only half the pattern. 
With some scissors for size comparison.

 It would seem that in his old age Obi-wan downsized his hood needs. Probably had to use some of the excess fabric to mend and repair his old Jedi robes. 

Either way, my client has asked for the young Obi-Wan hood. Why? Because he wants to hide a cat in there. :)

SNEAK ATTACK MEOW!


I've never met a fabric I didn't like.

Until NOW.

The dark brown for the Jedi robe, is a  nightmare!!
In the words of that guy from the second Mummy movie "This fabric....is cursed".
 It has stretch (or something) in it and it just kept slipping around everywhere, even though it was pinned within an inch of it's life.  It took me twice (if not three times) as long to trace the patterns, make sure they were not completely wonky, then re-trace the patterns,  then fix the retraced patterns etc etc.

All  while a cold really just wanted to leak that 70% water content of the human body out through my face. I might add.

 On the bright side, the robe is nearly all together now despite all this.  I was going to modify a Kimono pattern for this, but realized it would just be easiest to change the existing pattern I already had for the shirts.

Which meant I took my sleeve, which looked like this:
My computer really likes messing with my file formats. :/  
And made it look like this:
 Which I then cut on the fold to get a nice bell-sleeve shape.

I also took measurements from an actual Kimono I have, compared it to the length of the shirt and made an extension for the shirt:

 All that is left is to attach the sleeves, then cut out the binding for the front and hope that I have enough for a hood (I should, I just really hate this fabric!).


Edit: In regards to my title, I'm actually a fabric snob, and I have met fabrics I don't like before this.

Monday 24 September 2012

Updates will return later this week!

I was away on a business trip.  So until then, have a pretty picture to look at:


Sunday 9 September 2012

I can't think of a clever Star Wars quote that would apply to belts.

So today was a sad wet and over cast day, the kind of day which makes me just want to burrow into my blankets and nap the day away in bed.

But I had work to be done and things to be sewn! So no deal bed, even though you look(ed) incredibly inviting.

So what did I do today? I worked on the Jedi costume more of course!

I drafted a pattern for the shoulder sash thing Mace Windu has here.

And I made a "cheater" obi belt to tie this costume closed.  I say cheater, cause a real Obi is like 4 meters long, which is over-kill for this.  So mine has grommets in the back for a closure. I made it out of the same brown (which I guess is really beige).  

First I drafted a pattern.  I measured the width of  the Obi for my Yukata (a summer Kimono I picked up in Japan)  which was a little more the 17cm wide, so I rounded it up to 18cm wide.  And then made it the length of my clients waist measurement.  This made me a nice long rectangle.

I then found some nice stiff  fusible interfacing and did a test patch to make sure it would actually stick to my fabric and stay stuck to it, which it did.  So I cut out two pieces:

I decided on two, because my Obi is rather stiff and I wanted a similar look for this one. So I chose to interface both pieces of my belt.

After I cut out the Interfacing I cut out my fabric leaving some seam allowances and pinned it.
I purposely left a hole open in my pinning so I could flip this right side out and poke out the corners right when it was done being sewn.  I then hand sewed the opening closed.

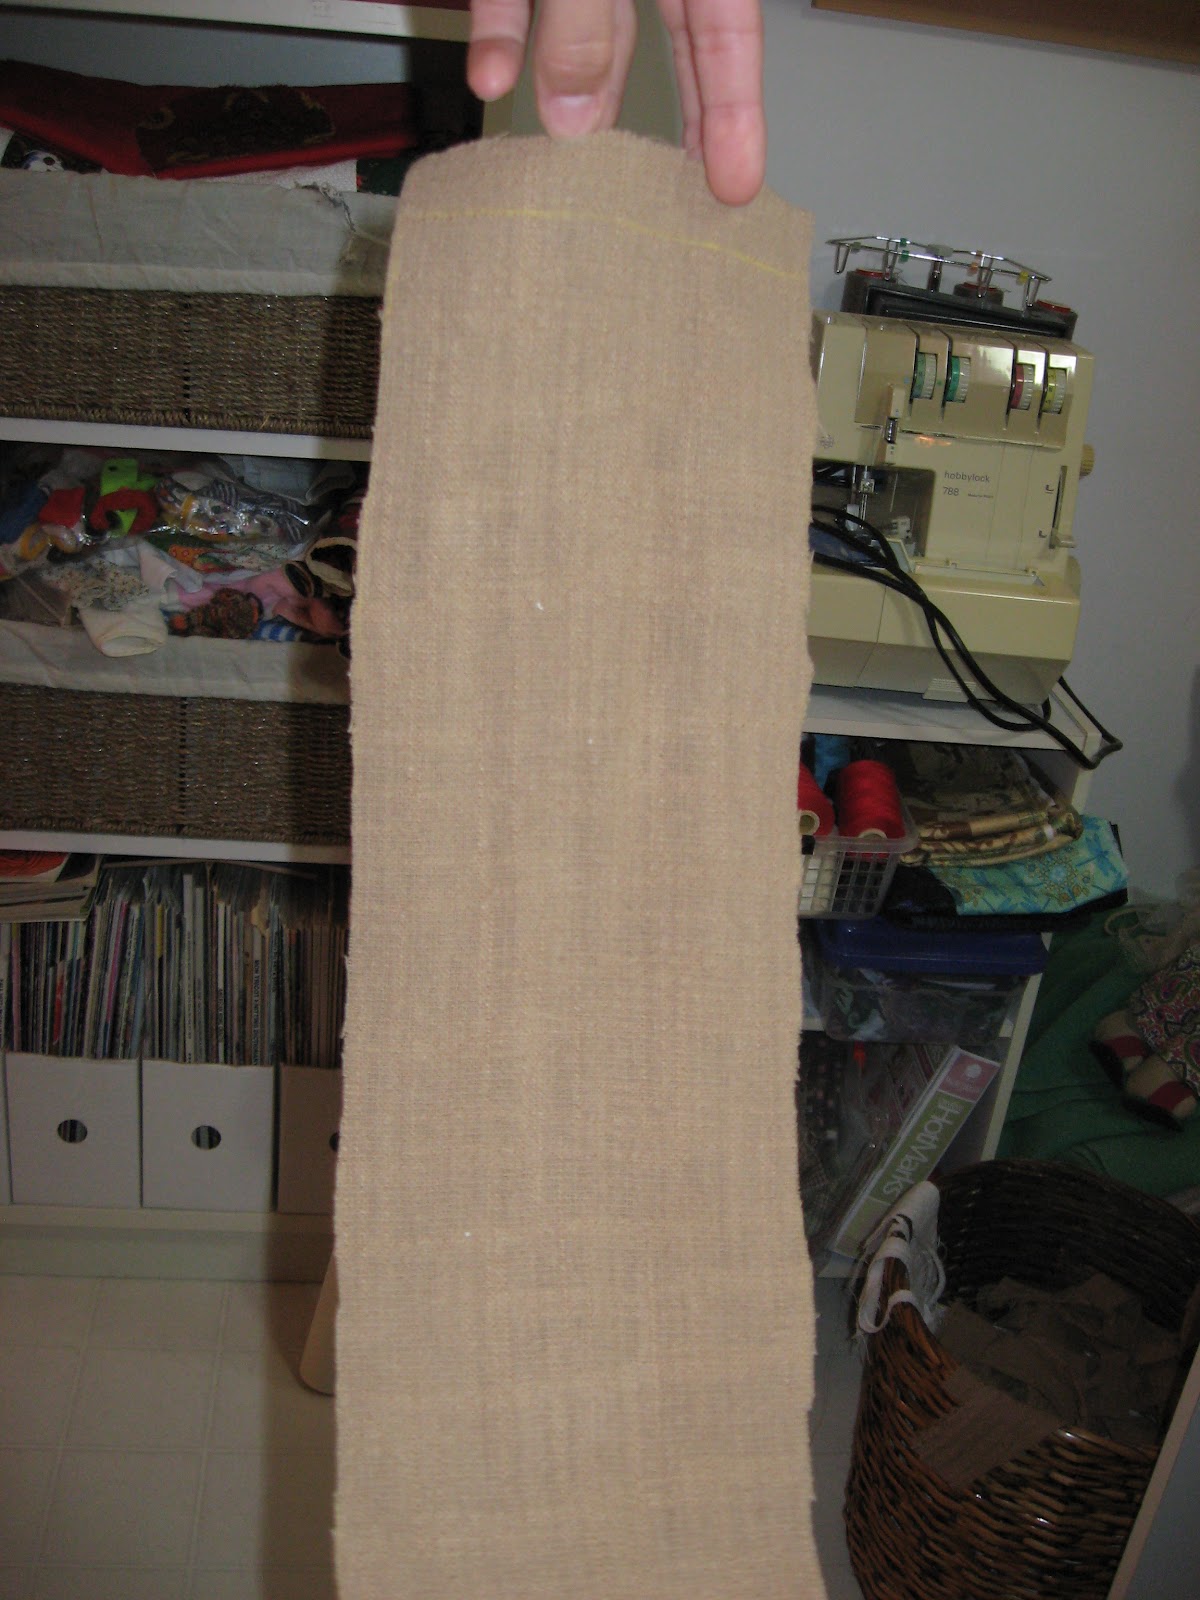
Which left me with a nice exciting brown fabric rectangle.  Which I then marked for grommets with a grommet tool I picked up at a craft store.

And stuck in some grommets to tie this sucker closed with.  This way if my client  has any weight fluctuations, the costume can still fit.

Next up is cut out and sew the shoulder sash and then extend the length of the shirts to make the over robe and to make the sleeve a bell sleeve instead of a straight sleeve.  Lastly, I'll make a pair of simple draw-string pants to wear under it and then it is on to Sailor Moon!

Saturday 8 September 2012

"Remember, a Jedi can feel the Force flowing thru him"

(I got this quote off a website, I'm unsure on the grammar/spelling of it.)

And a Jedi appreciates the seams in his clothes being bound with Bias tape. Because Jedi like to have nice finishes in their clothes.
That'd be the armhole of the outer shirt. I bound the armhole seams of both it at the white shirt today just before I did the binding on the center front.

Which involved two (well four actually, 2 of each colour) very long strips of fabric, joined at the center back collar of the shirt and then sewn down and around the front edges.

I used a hem gauge to make sure the fold was even all the way around while I pinned it.  The white binding is half a centimeter longer then the brown to let the shirt show a bit above the edge. The white was 4.5 and the brown was 4. I probably could have gone bigger, but didn't want to over do it.


And here are the two shirts on a hanger,  all that is left is to hem the sleeves and bottom.  I tried it on, but being a girl and being the size that I am, this was many sizes too big for me and I looked like I was wearing giant poncho. :P

Tomorrow, (or) possibly later tonight, I'll make the belt and over sash and start on the outer robe.

Thursday 6 September 2012

Now witness the firepower of this fully ARMED and OPERATIONAL battle station!

Sorry about the delays between posts, working 9-5 leaves me only now and then to work on commissions, but I'll still talk about them!

So where are we on this Jedi costume?  Well I made the changes to the pattern I had planned and then mocked it up in muslin and fit my client.  I was very glad to see that few changes needed to be made, I just bumped the hems on the bottom and sleeves up a little higher and took it in an inch at the bottom of the side seams.

The next step was to get out my fabric and start cutting out patterns.  Once that was done I surged all my edges to prevent fraying.

Which left me with pieces looking like this (and in much need of a good ironing).  This is the sleeve, front and back of half the brown top.  It's just a matter of sewing these up and then I'll have a more finished garment
And using the magic learned after years of cooking and craft shows, I have here a more finished garment. (Which hopefully I have the fronts folded right so the "wearer" is not dead).

Now I thought to myself these are pretty simple garments, how can I make them a little more fancy or special, so I thought to myself that I would do the finish that most jean and pant seams have, which is called a flat-fell.  There are two kinds, the flat-fell which involves leaving one seam allowance longer then the other and then folding it over and sewing it down (which, had I not already surged my edges I would have done), and another called the Fake-Flat-Fell. Which is what I did here, it is mostly just top-stitching down your seam allowances.  Still better then nothing.
I also did this because I knew the white later would be showing in the sleeves and I didn't want loose seams flapping about ruining the look.  Another option is for the wearer to just wear the white shirt inside out under the brown shirt, which he may still do, but at least he wouldn't have  flappy seams rubbing up against his skin.

So the next step is to sew up the brown shirt, add the bindings along the front/collar of the shirts and then hem the bottom and sleeves.  After that it's just a matter of making the robe, belt, sash and pants and we will have a full Jedi.

Edit: Now with 100% more pins.

Monday 3 September 2012

So what were these anyway?


They are Mason's goggles (as in the Free Masons). 

Apparently, you were not allowed to know the identity of the other masons until you were a full member of their Secret Society. So they blind-folded you with these until you were made a member.

History is weird and fun. (I say history, but the Masons are still around, I'm not sure if they still use these though).

I plan on fixing the broken strap and maybe putting in some lenses (with friction, I don't actually want to mod an antique) and using them for Steampunk costumes.